When, Why and How to Clean Your Vaporizer
As with anything you use regularly, your vaporizer should be properly maintained and kept clean. While the frequency with which you clean your vaporizer depends on how often it’s used, we advise regular users to clean their vaporizer up to once per week.

To keep on schedule make it habit, just like brushing your teeth. While it may not be the funnest thing in the world it’s important to keep the device functioning well, and delivering clean, uncontaminated vapor.
In this post, we break down why, when and how to clean your vaporizer.
Why do I need to clean my vaporizer?
Cleaning your vaporizer is a crucial step to lengthening the life of your vaping device. Gone are the days of herbal waste! A dirty, clogged vaporizer means anything you attempt to vape will produce mediocre pulls. Not on our watch!
You can double the life of your screens and your hardware while getting more out of the products you’re vaping simply cleaning it and eliminating debris from its pathway. Many new vape buyers will skip out on the cleaning kit, but picking one up with your purchase will save you quite a bit of time and money once you start using it.
Further, if you’re sharing your vaporizer with anyone regularly, you’ll want to clean the mouthpiece to stop the spread of germs. Having some handy cleaning wipes to zap away bacteria is always a safe bet if you’re a caring, sharing type of person.
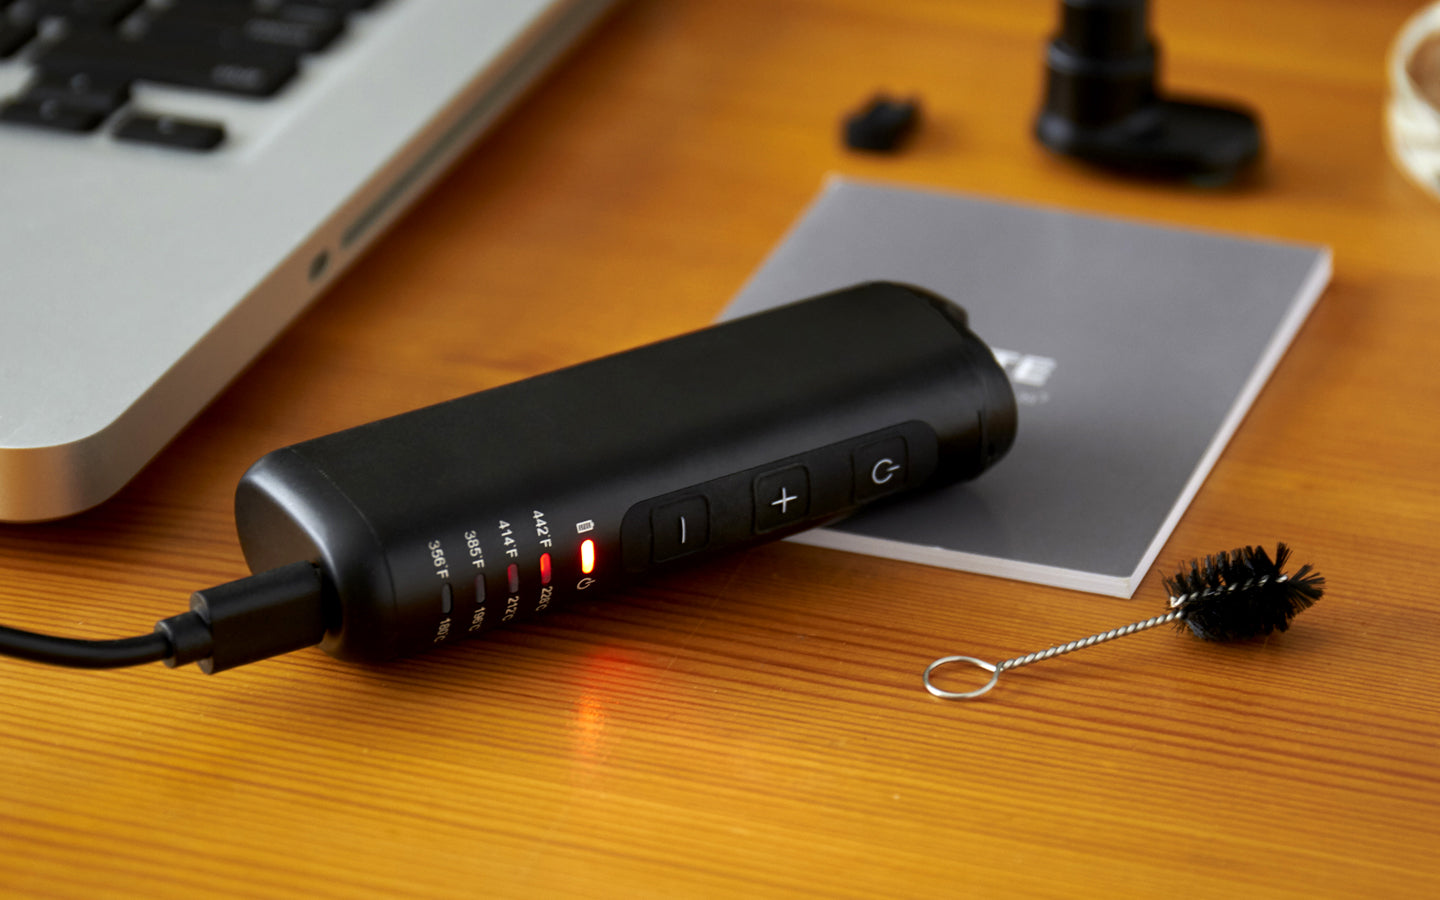
Luckily, Vapium vaporizers come equipped with their own cleaning brushes right in the box, along with all the tools you’ll need to get started.
When should I clean my vaporizer?
For the first few months of a brand-new vaporizer, the hits will surely feel smooth, velvety and tasty on the palette. But once residue and other various particles build up along the pathways, the quality of the vapor will change, sometimes dramatically.
Cleaning your vape doesn’t have to be as time consuming as you might imagine it to be. It should be cleaned at least every month, but regular users should clean it more often, as much as once per week. A nice, quick clean will keep your vape working up to its potential, free of built up debris and general resin-nastiness.
Some signs that your vape needs a clean are when:
- There are signs of resin buildup
- The device is having trouble producing vapor or the pathway seems obstructed
- You need to take harder pulls to produce its normal effect
How can I clean my vape?
We’ve designed our Vapium vaporizers to be as hassle free and straightforward as possible; both to operate and to clean. This is why we include our cleaning brushes in each product box.
For the SUMMIT+, for example, simply remove the magnetic mouthpiece, grab the loading tool and lift out the filter screen within the heating chamber, and run the cleaning brush through the opening, all the way down to the bottom of the heating chamber.
Next, replace the filter screen by placing a new one on top of the heating chamber and use the other end of the filling tool to push it down all the way. You’re set!
Cleaning other vaporizers
Since there are a wide range of vaporizer devices on the market, some can have some pretty technical cleaning instructions. Generally, you’ll want to clean the vape whenever it’s having trouble performing (and hopefully before), or if there is an excess of resin build-up clogging the air pathway.
For example, for an oil vaporizer that has a removable holding tank, you’ll want to disassemble and soak the separate pieces in warm water for a while. This allows the residue to soften and wipe away easily. Use soft sponges, paper towels or Q-tips to get the resin off and let the pieces air dry.
Connect all the pieces back together, replace the coils and enjoy your next vape! If you’re in doubt, consult your user’s manual or product website for quick cleaning tips.
Happy (clean) vaping!
Leave a comment
Comments will be approved before showing up.
Also in News

Where to Buy a Vaporizer
If you’re looking to buy a vaporizer, you’ve got options. You wouldn’t find them in major retail stores (nor will you at the time of writing), but you would find them in speciality shops – most of which featured at least one pot leaf emblazoned on the window – and online.

Can I use a vaporizer for medical purposes?


